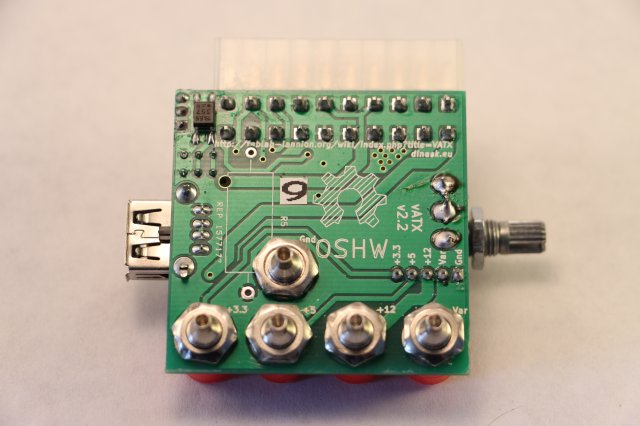
Specifications
- small board 5cm x 5cm ie: 2in x 2in
- on/off switch
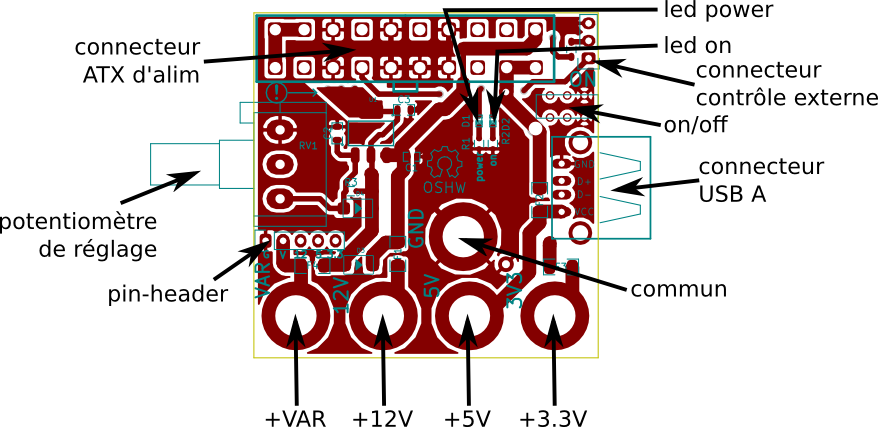
- standard ATX connector 20 pins. (a 24 pins connector can be used)
- standard voltages (fused) on banana plugs / pin-header
- +12V 750mA (hold) 1.5A (trip)
- +5V 1A (hold) 2A (trip)
- +3.3V 1A (hold) 2A (trip)
- variable voltage (fused) on banana plug and pin-header
- 1.25V to 11V 750mA (hold) 1.5A (trip)
- USB-A female 5V (unfused)
- auto-reset fuses
- switch on/off to reset the fuse
- footprint for power resistor if needed
- footprints for switching from external signal (arduino, RaspberryPi ...)
- 3.3V or 5V
Usage
External control
If needed the PSU can be switched on/off from a digital output of a micr-controler. Needed components footprints are on the board, but components are not populated.
You will need :
- an optocoupler
- a resistor (0603 size)
- 105 ohms for 3.3V logic
- 190 ohms for 5V logic
- a 3 pins pin-header (optional)
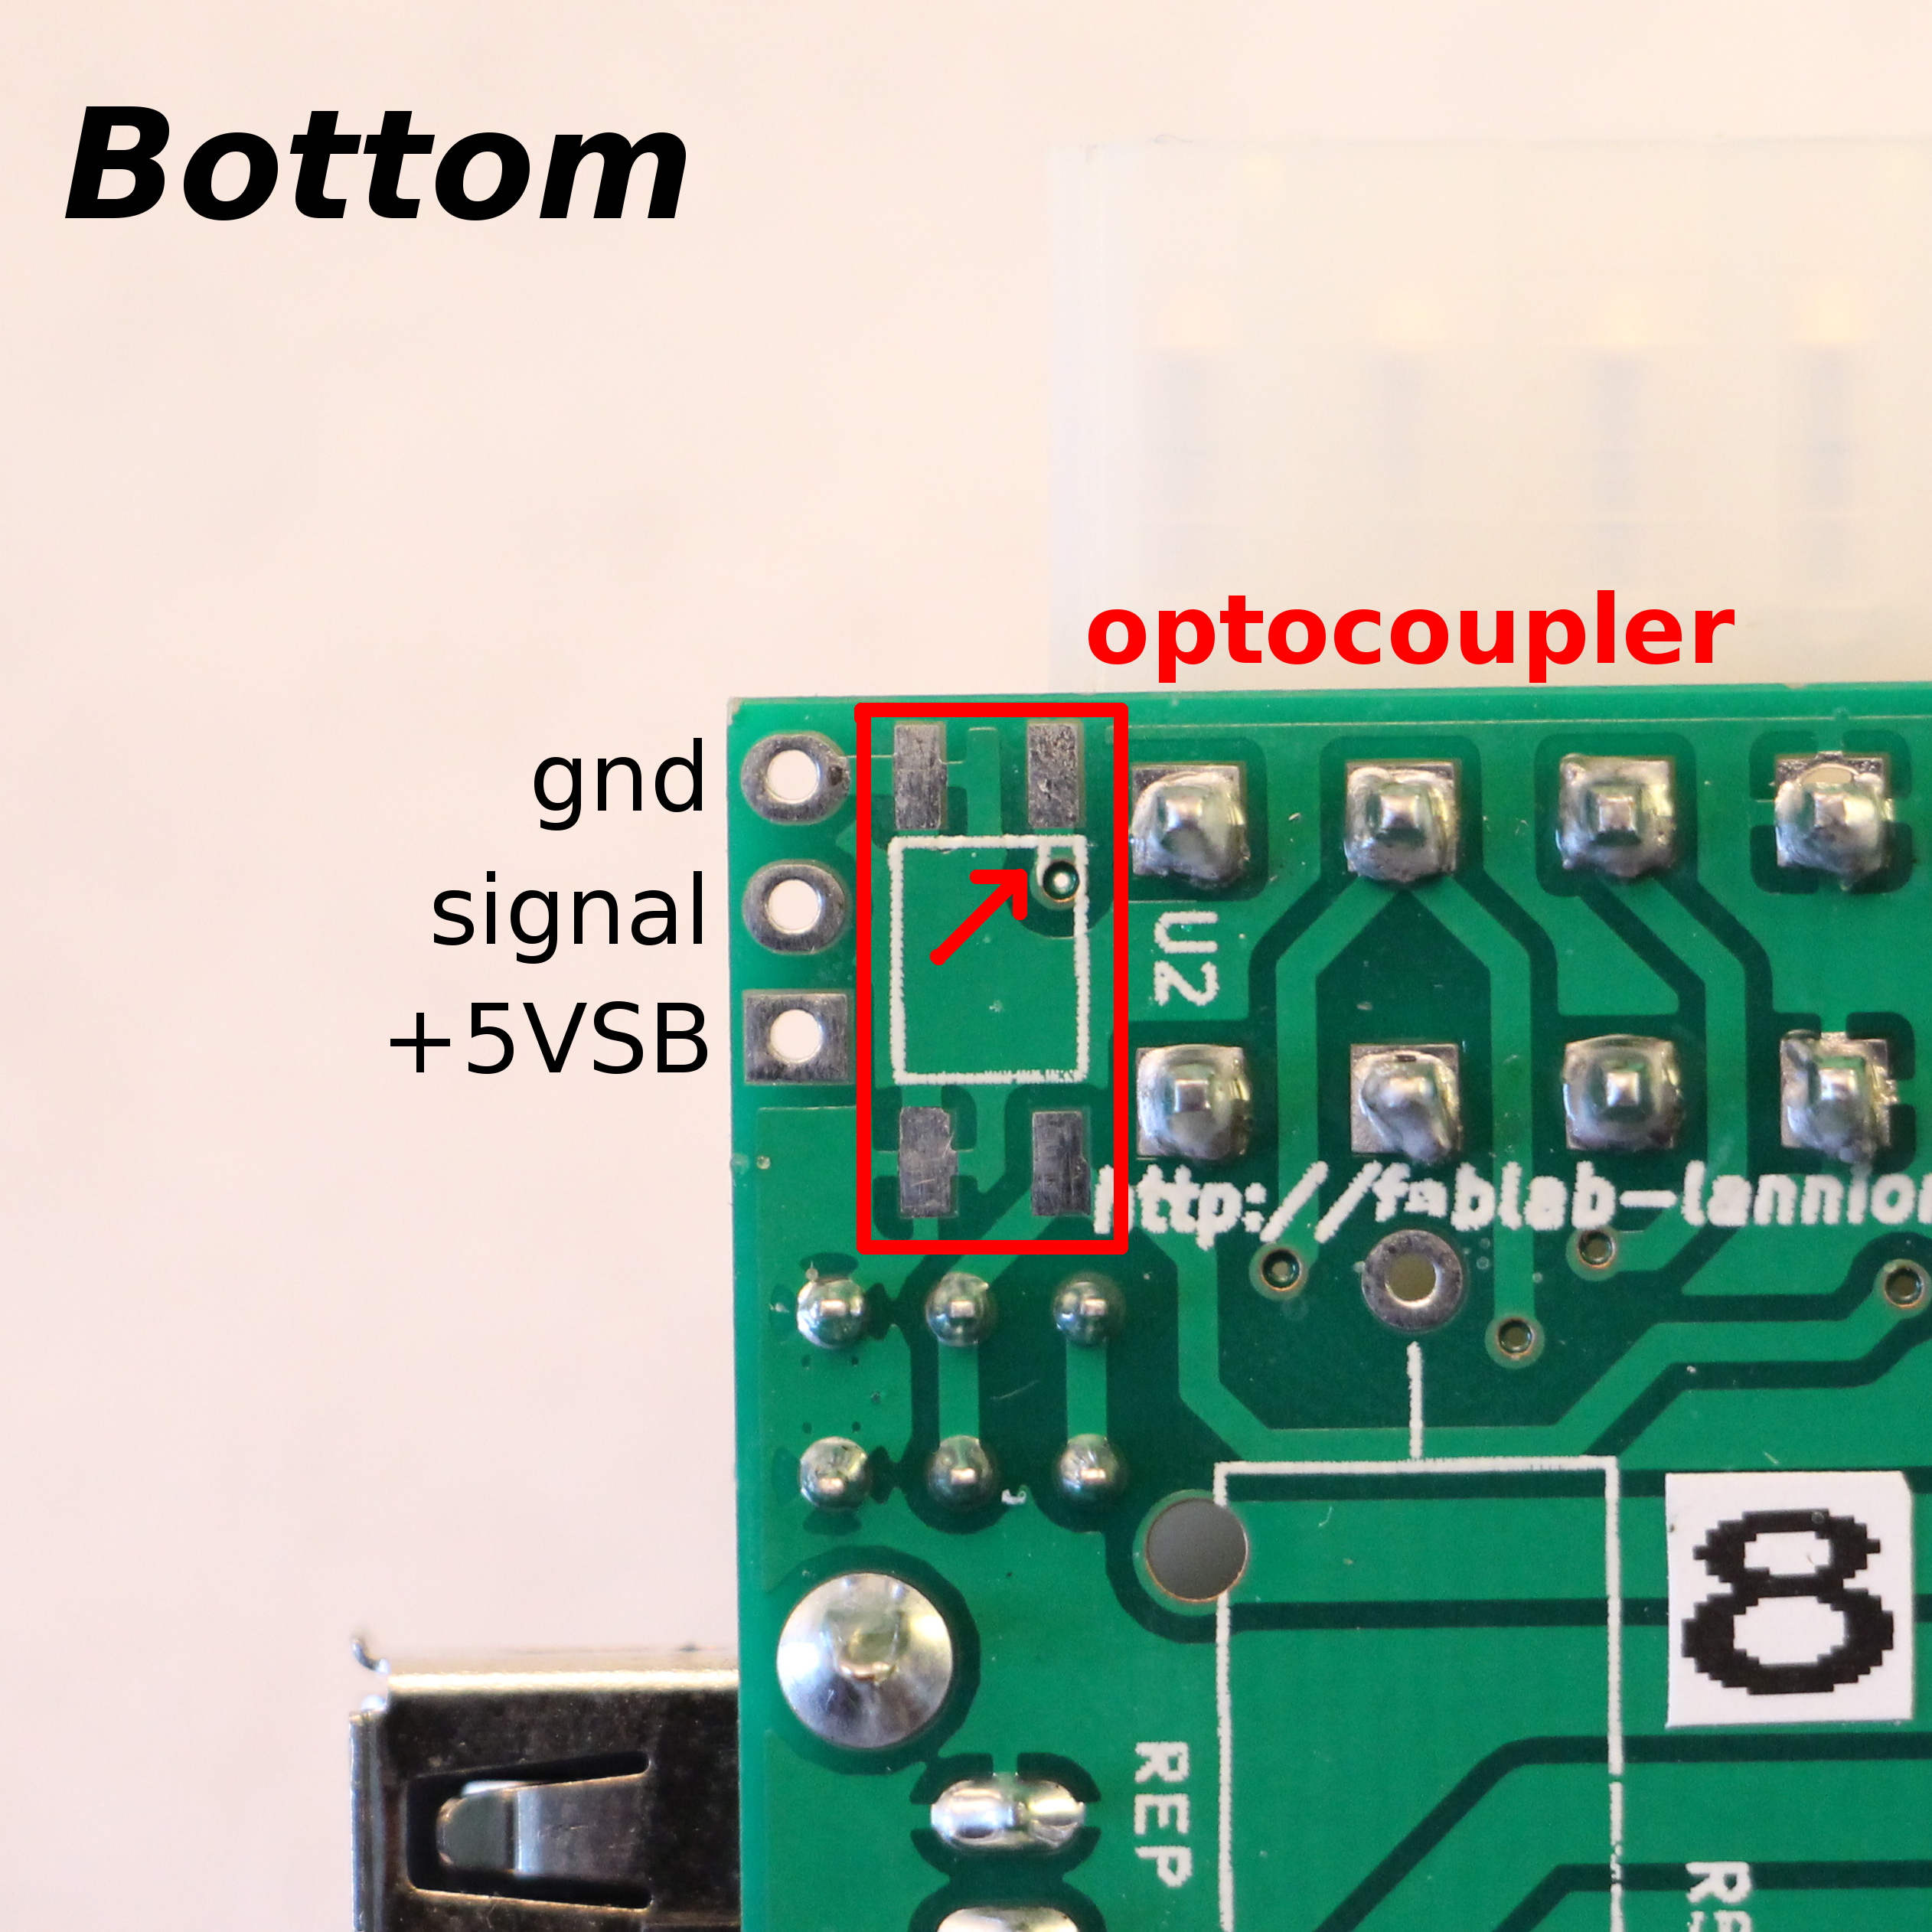
Note: The +5VSB pin of ATX is available on the same connector. You can get 5V from it, even when the ATX PSU is switched off. So you can power your µ through that.
Populate
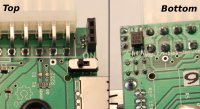
First, solder the optocoupler on bottom side of the board. Following picture show you a red rectangle left of the ATX connector (U2 component). Pin 1 is identified by the arraow (or the dot on the board).
Now, on top of the board, solder the choosen resistor. This time, it's on right of the ATX connector. Also, see the red rectangle on the picture below. Direction of the component does not matter.
See above to choose the resistor value.

If you want, you can had a pin-header (male or female) or some cables to the 3 holes.
At least, you should have something looking like this :
Usage
This is very simple to use, just hook-up your new connector to an arduino (as example)
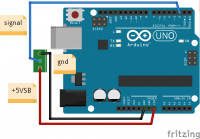 gnd to gnd
- +5VSB to arduino Vin pin
- signal on any digital output of your arduino (pin 2 in this example)
To switch on the ATX PSU, just pull the digital output to high (5V). To switch off, pull it to low (gnd).
A simple example code is available.
Power resistor
howto, empreinte
Links
- Sources Hardware
- Original project page on FabLab Lannion wiki (french)
- Blog post (french)
Pictures